PlatformerGdx Part1
Building on my previous tutorial with LibGdx, over the past couple of days I’ve been working through another tutorial by the YouTube creator Small Pixel Games. This series is a little different, in that he hasn’t actually finished it at the time of this writing. So I worked through the first three videos that he released in the series, and then have been going it on my own from there.
This series has us building a 2D platformer in LibGDX. Given that it’s not finished yet, and given that I’m going to have to figure out a fair bit of this content on my own, I set some goals for the project in order to help define what ‘done’ looked like. Therefore, my opinion of done for this project is:- Use LWJGL3 to render a 2D ’level’.
- This level has 2D physics of some kind, gravity, a floor, and multiple objects with collision detection.
- The level has a background of some kind, outside of just a flat color.
- There is an animated player sprite that a player can use to traverse the level.
- The animated player should have sound effects associated with it.
- (Stretch Goal) There is one or more animated enemy sprites on the level.
The tutorial itself was very interesting and shed some light on some processes that seem fairly standardized in the game dev world, but that I was not aware of. The first thing I did was set up all the LibGdx boilerplate, making a singleton main class, a world, an orthographic camera, and a SpriteBatch for rendering. Upon doing this the tutorial has you make some basic tile objects in Gimp. I skipped this step and instead used one of the free platformer asset packs from Kenny Assets. I did use Gimp to scale the spritesheets down by 50%, in order to make the assets 64x64 instead of 128x128.
Once I had a sprite sheet, it came time to make the game world. To do this I used a third party game creator tool called Tiled. This incredible tool allows you to import a spritesheet, cut it up as you want, define a ‘grid’ of a game world, and then lay down the tiles, etc in it’s WYSIWYG editor.
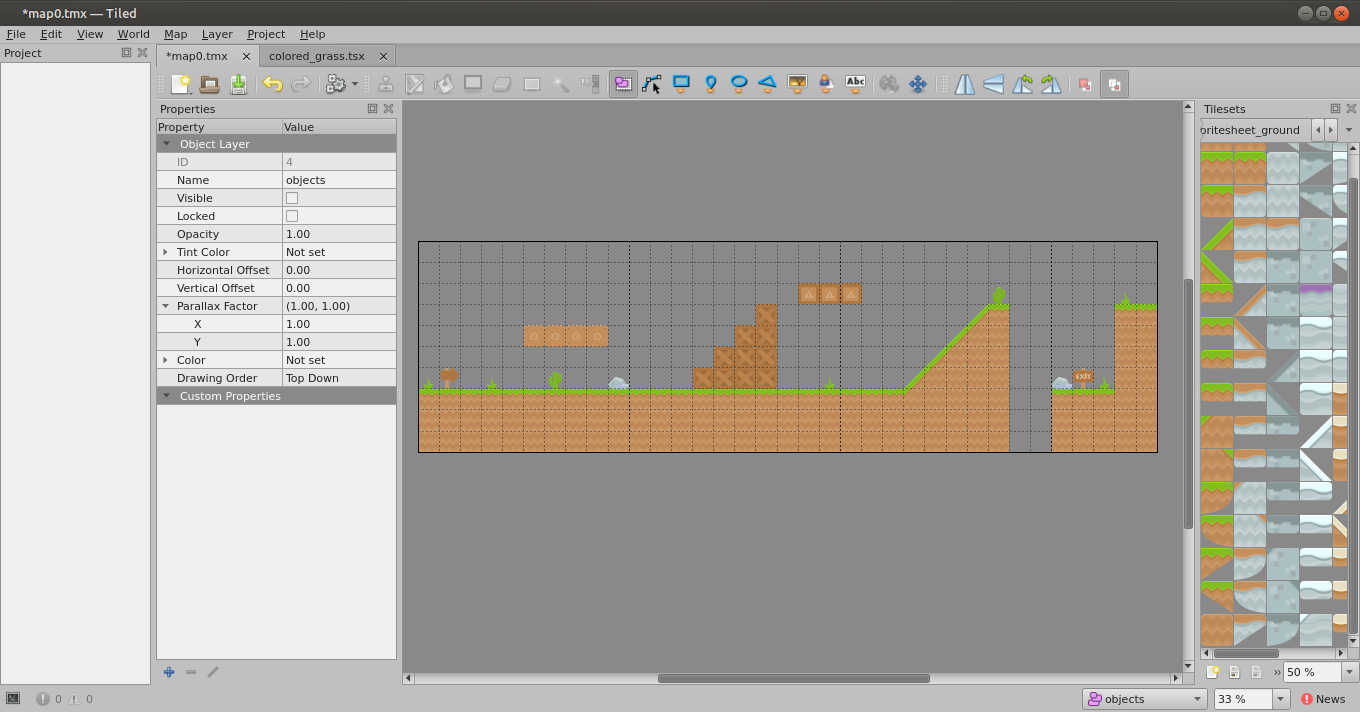
Tiled saves the game world as a .tsx file, which is basically just an XML file with some specific markup. The meat of the file is the ’layer’ tag, where it stores the string that, when uncompressed, is converted to a tile by tile definition of the game world. LibGdx has the ability to handle these files with it’s OrthonganalTiledMapRenderer class, so this is how I loaded the game world into the application.
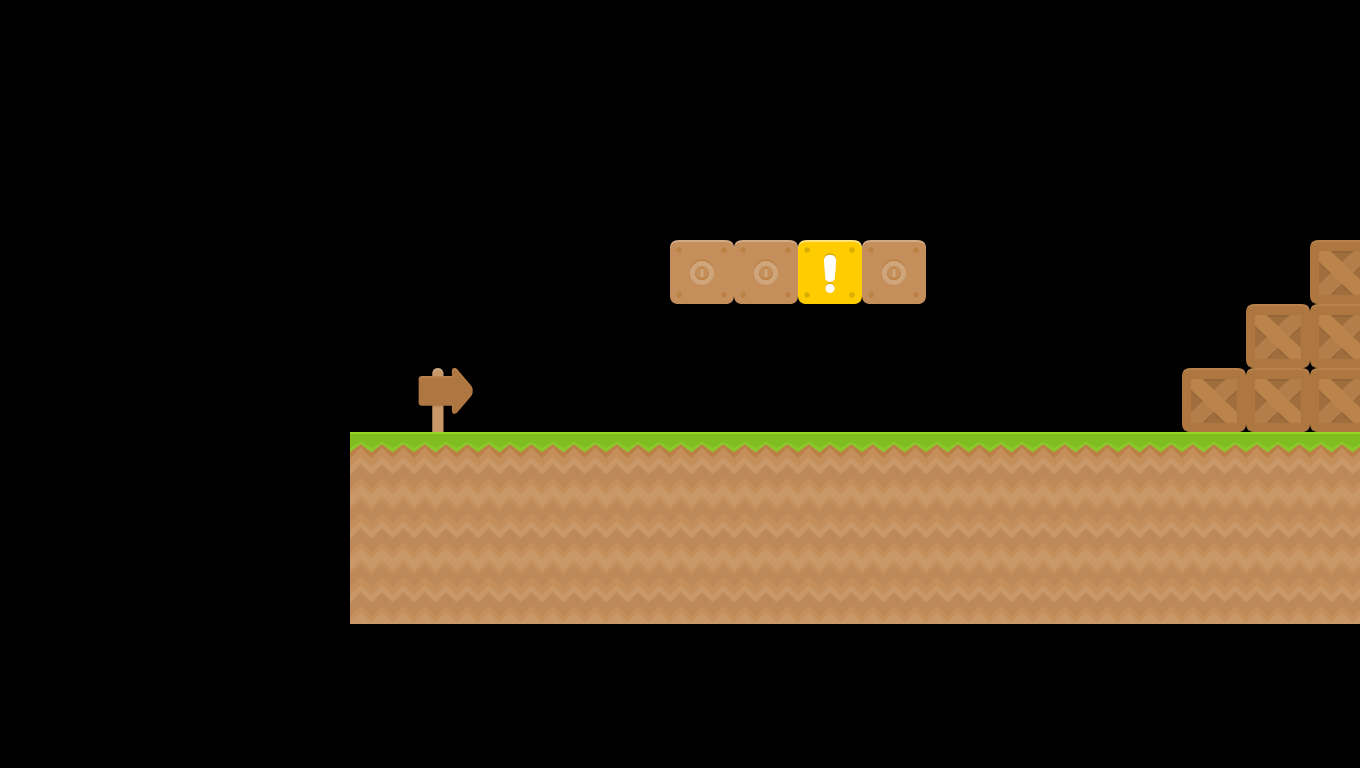
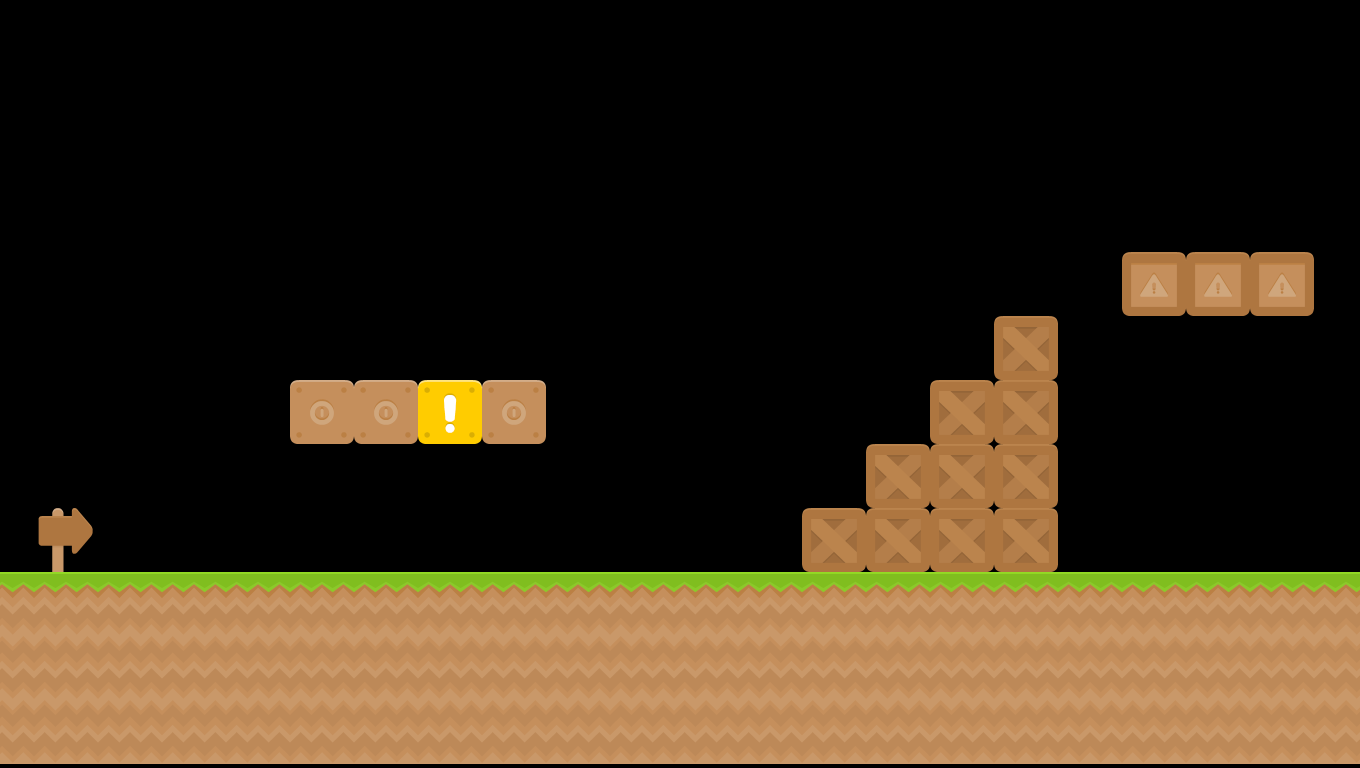
I threw some test code in there that allowed me to use WASD to control the camera position, and the UP and DOWN arrows to control the camera zoom, in order to get this screenshot.
The rest of the published tutorial at time of writing covers making another tile layer to make PolygonObjects, which is important for the world physics, but I’ll cover that in another post. However, it was at this point that the tutorials ended, and I was on my own for determining what to do. I decided to start with figuring out how to apply a background texture to the scene.
It turns out there are a number of ways to handle backgrounds. For instance, if you’re really fancy you can do a Parallax Background. I decided that I wanted to keep it simple, and that the background should just be an orthoganal image in the camera that scrolls at the same rate as the character/camera movement. There are two ways of performing this with the tools that we’ve been using thus far. You can set an image layer in Tiled and simply load a single image in as a background, but you have no control over this image once it’s been loaded into memory. Or you can use Tiled to set the background to a series of tile objects on their own layer, and then handle those background objects in the LibGdx code. I elected to go with the later option as it seemed the more versatile approach.
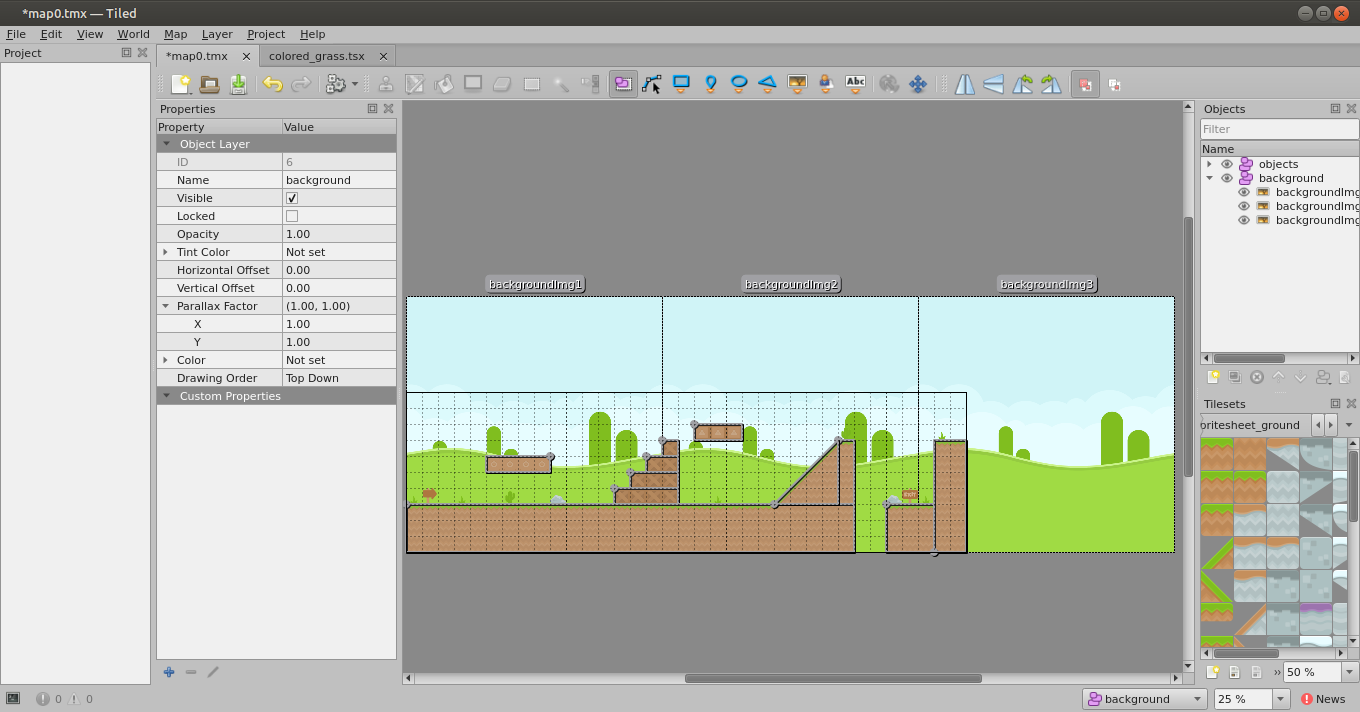
The sprite pack that I got from Kenny Assets came with a number of .png scene backdrops, and I elected to go with the one below.

One issue I faced was that this asset was 1024x1024 resolution, while my game world was over twice that size on the X axis. I could go into Gimp and simply replicate the image on the X axis enough to end up with a texture that was the right size, but I did not like this solution as there is a cap with how big you can make your textures on various hardware. It wouldn’t be a problem with what I am currently doing, but if I ever wanted to port a game to mobile I wouldn’t be able to load textures beyond around 2048x2048. Clearly I would have to have multiple copies of this asset, placed side to side, in the world. In Tiled, my backdrop ultimately ended up looking like this.
I ended up writing a helper class to parse out each of these 1024x1024 ’tiles’, and render them correctly on the screen. The key was to use a tiled helper object called a TiledMapTileMapObject (quite the name). This object keeps track of the various tiles and can load them in as standard LigGdx TextureRegions, but it also maintains a reference to the tiles X and Y coordinate in the game world. Once I had built a helper class to parse all of these background image objects into a TiledMapTileMapObject array, it was simply a matter of building a for loop in the render method of my GameScreen class to convert them to TextureRegions and render them in the right place. Care must be taken to render the background objects before any foreground objects, and I’ve found it’s a good idea to disable blending on the SpriteBatch when you’re rendering the background (the background doesn’t need blending anyway, and this saves on resources). Ultimately, my world ended up looking like the GIF below.
My next goal is to get a (static, not animated yet) sprite working in the world, and to get him to work with the 2D physics that have already been implemented throughout the map. Additionally, I’d like to strip away the debug camera control code, and reconfigure the code to just follow the asset around the map. Finally, once that is done, I’d like to restrict the OrthoganalCamera to not display areas that I consider “outside the world”.