YACK (Yet Another CW Keyer)
I recently decided that I wanted to build a CW keyer. Interesting choice of project, since there are a number of great keyer projects available for very cheap, and I actually own one of them (a PIC based Ulta PicoKeyer). The reason I chose this project is two fold. One, I’m a software developer by trade and love writing and thinking about software. And since I happen to love CW, the thought of writing software for CW radio purposes seemed very fun. Basically, I’m a nerd that likes building things, so I wanted to build something. Secondly and more practically, the Xiegu G90 that I normally take out to the field (and all of my other field radios) are missing one key feature that I would really, really love: CW memory keying. Keeping a customizable CW message in memory, and then being able to play that back on command. You can really do a lot with this (Tom, K4SWL has a really cool setup on his Mountain Topper radio where he stores different parts of a POTA QSO in different memories, and then plays them back when he needs them), but the most obvious advantage is that you could store ‘CQ CQ POTA de KD5WCX’ into memory, since you end up calling that a ton when you’re out operating. So I wanted to build a CW keyer that I could commit to my POTA kit, take with me out to the field, and it had to have CW memory keying with at least one channel. Oh, and it had to work with all of my POTA radios, especially my G90.
While I first set off with the desire to write software for this project, I ended up finding a number of open source keyer implementations that are very full featured. I’d love someday either convert one of these for a new platform, or add to them, but for the time being I decided to simply try to build a unit based on one of the available projects. My initial thought was to try to fit a whole CW keyer with saveable memory into something like a PIC 12F629 which I thought would be really fun, since those controllers can be had for about 25 cents each, but the project I ended up deciding to go with was the ATTiny85 CW keyer, also called the YACK. Yeah, just making an already made project feels like cheating (and it doesn’t really go with one of my original goals), but I figure the best way of writing your own thing is to look at similar things and try to figure out what roadblocks they ran into.
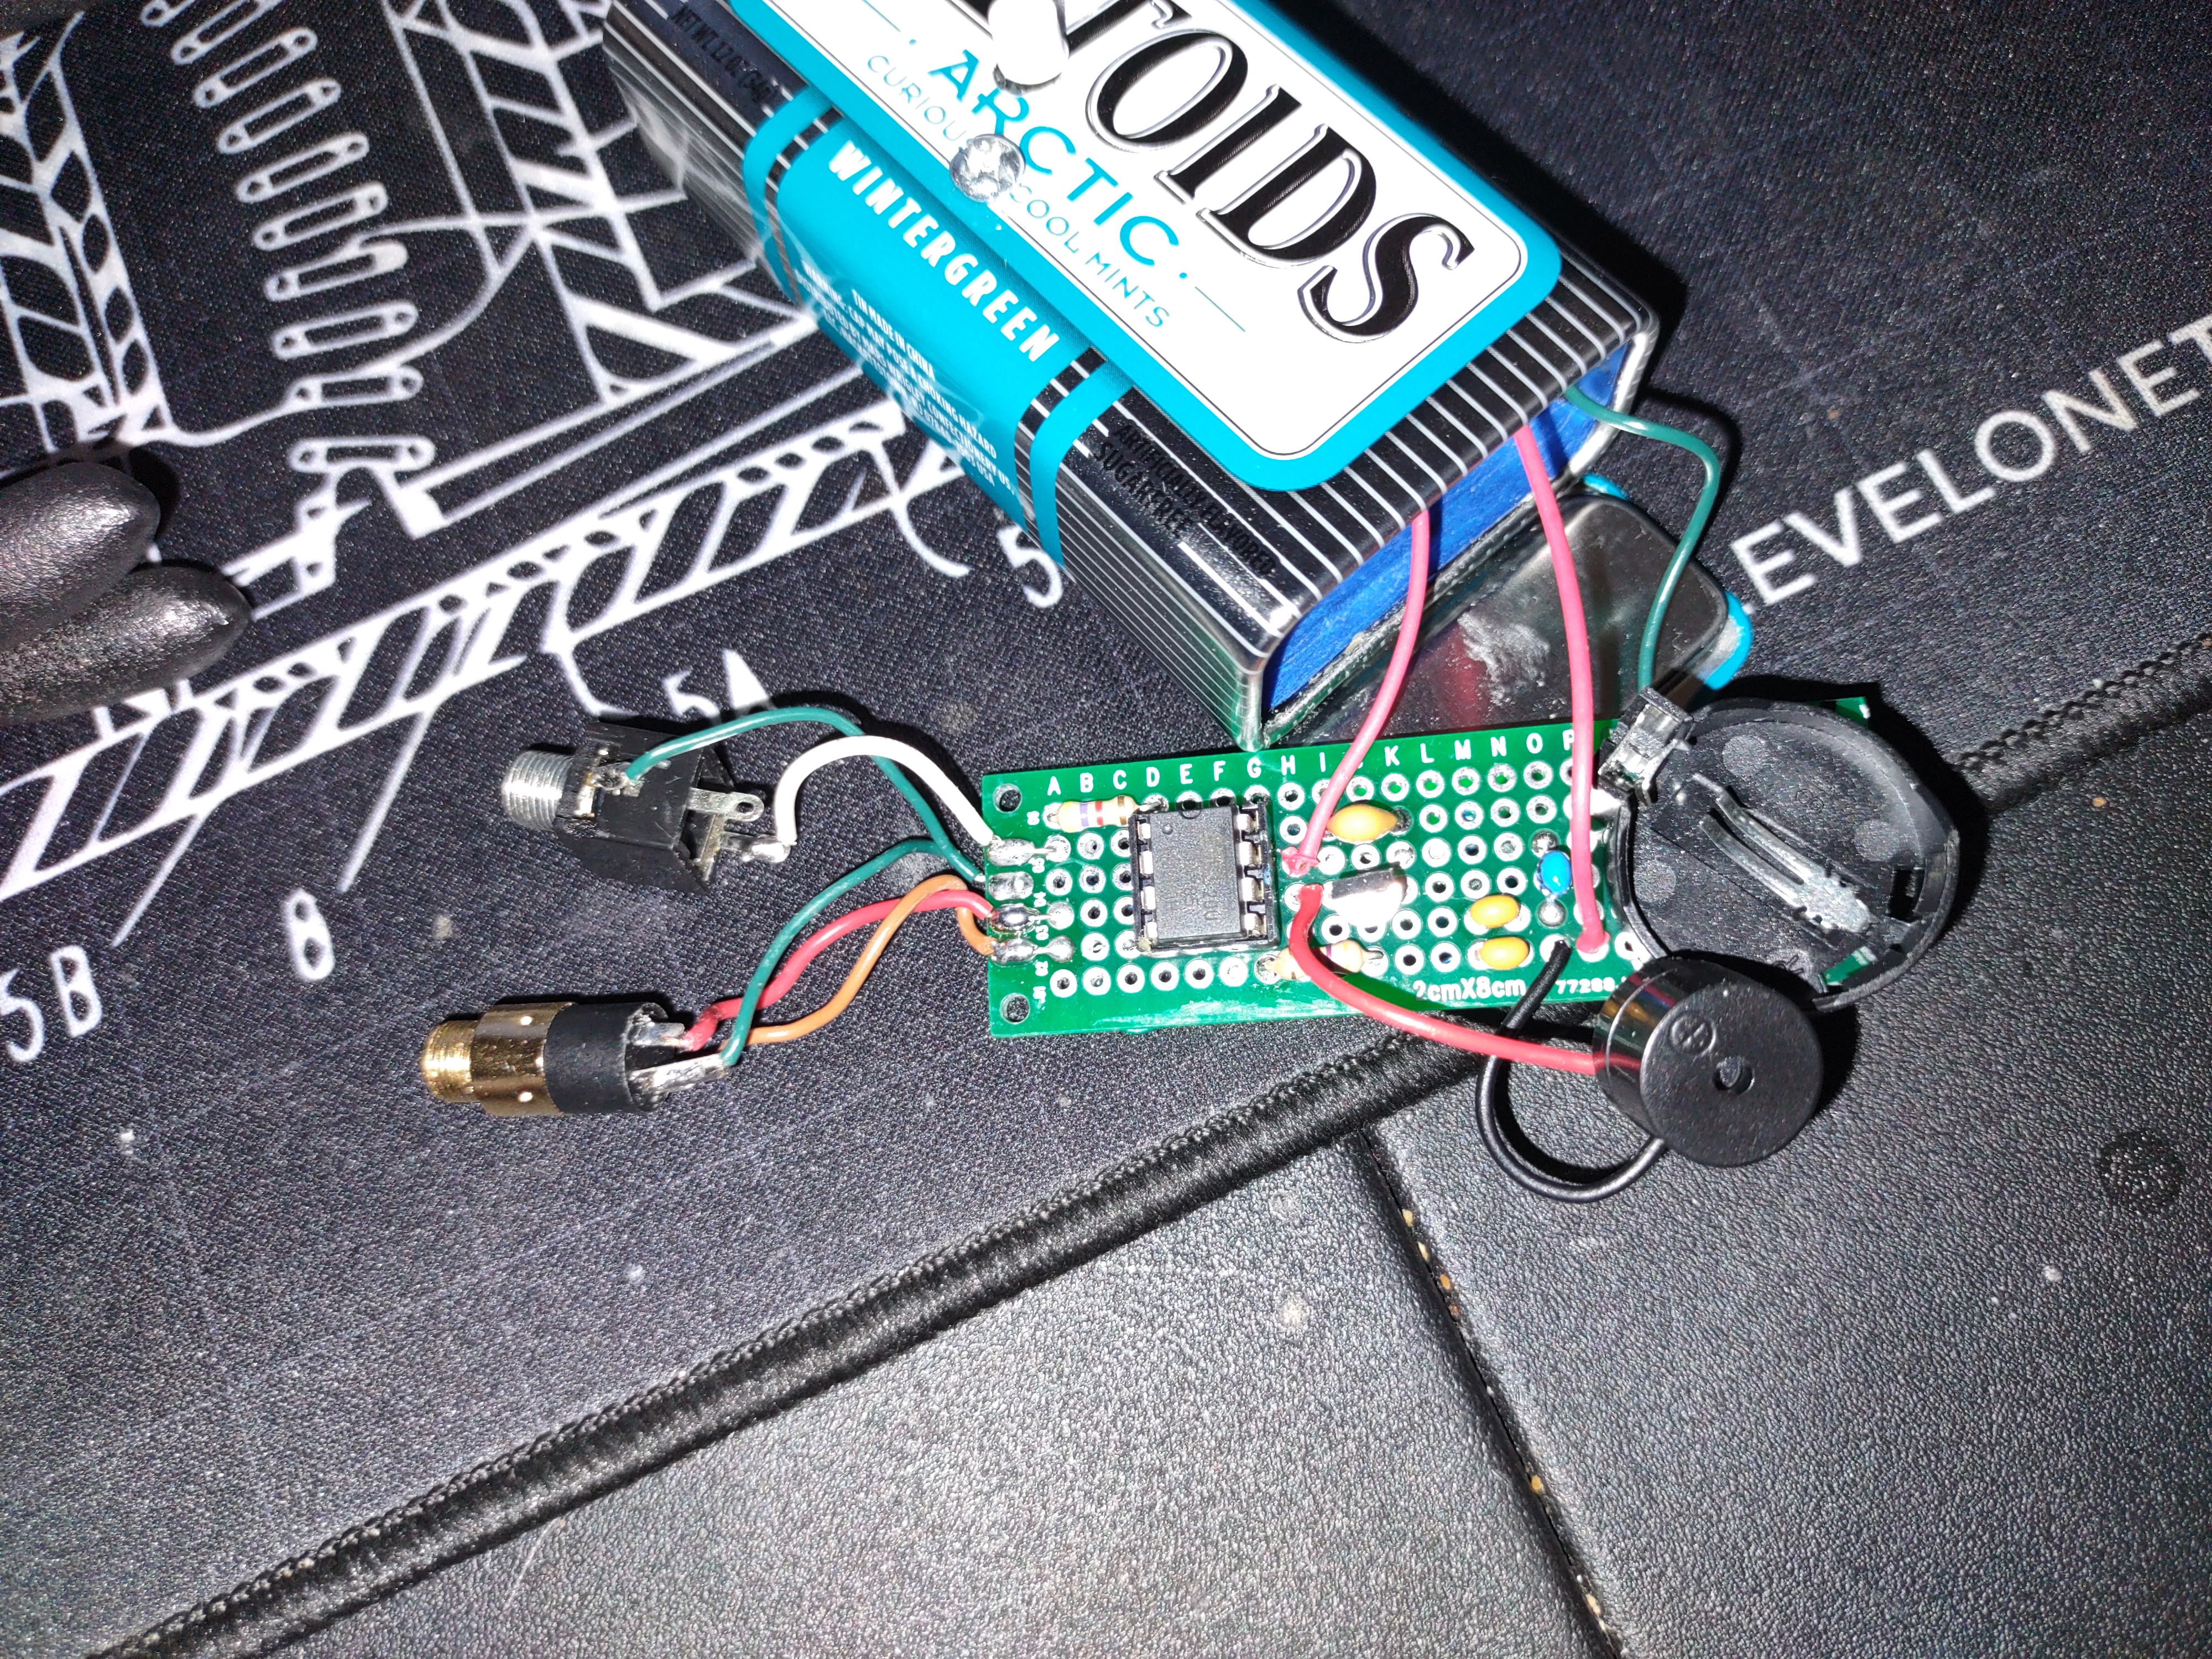
The YACK is a very full featured design. It features all the normal things you would expect out of a CW keyer, plus four seperate memory channels that can be independently written to and played back, plus a bunch of other features (including a whole CW trainer that plays random callsigns at you and has you key them back to the unit). Really cool project. And all of that on an ATTiny85 platform. While thats a little more expensive then a PIC12F629, they can still be had for two dollars or so (I paid 80 cents for mine, but prices are fluctating a lot with the silicon shortage). The project includes a buzzer for an output and a single button that is used to toggle the unit between normal mode and control mode (holding down the button also lets you adjust your speed). I decided to build the project in an Altoids tin since that’s amateur radio homebrew tradition (and I had a bunch of them laying around).
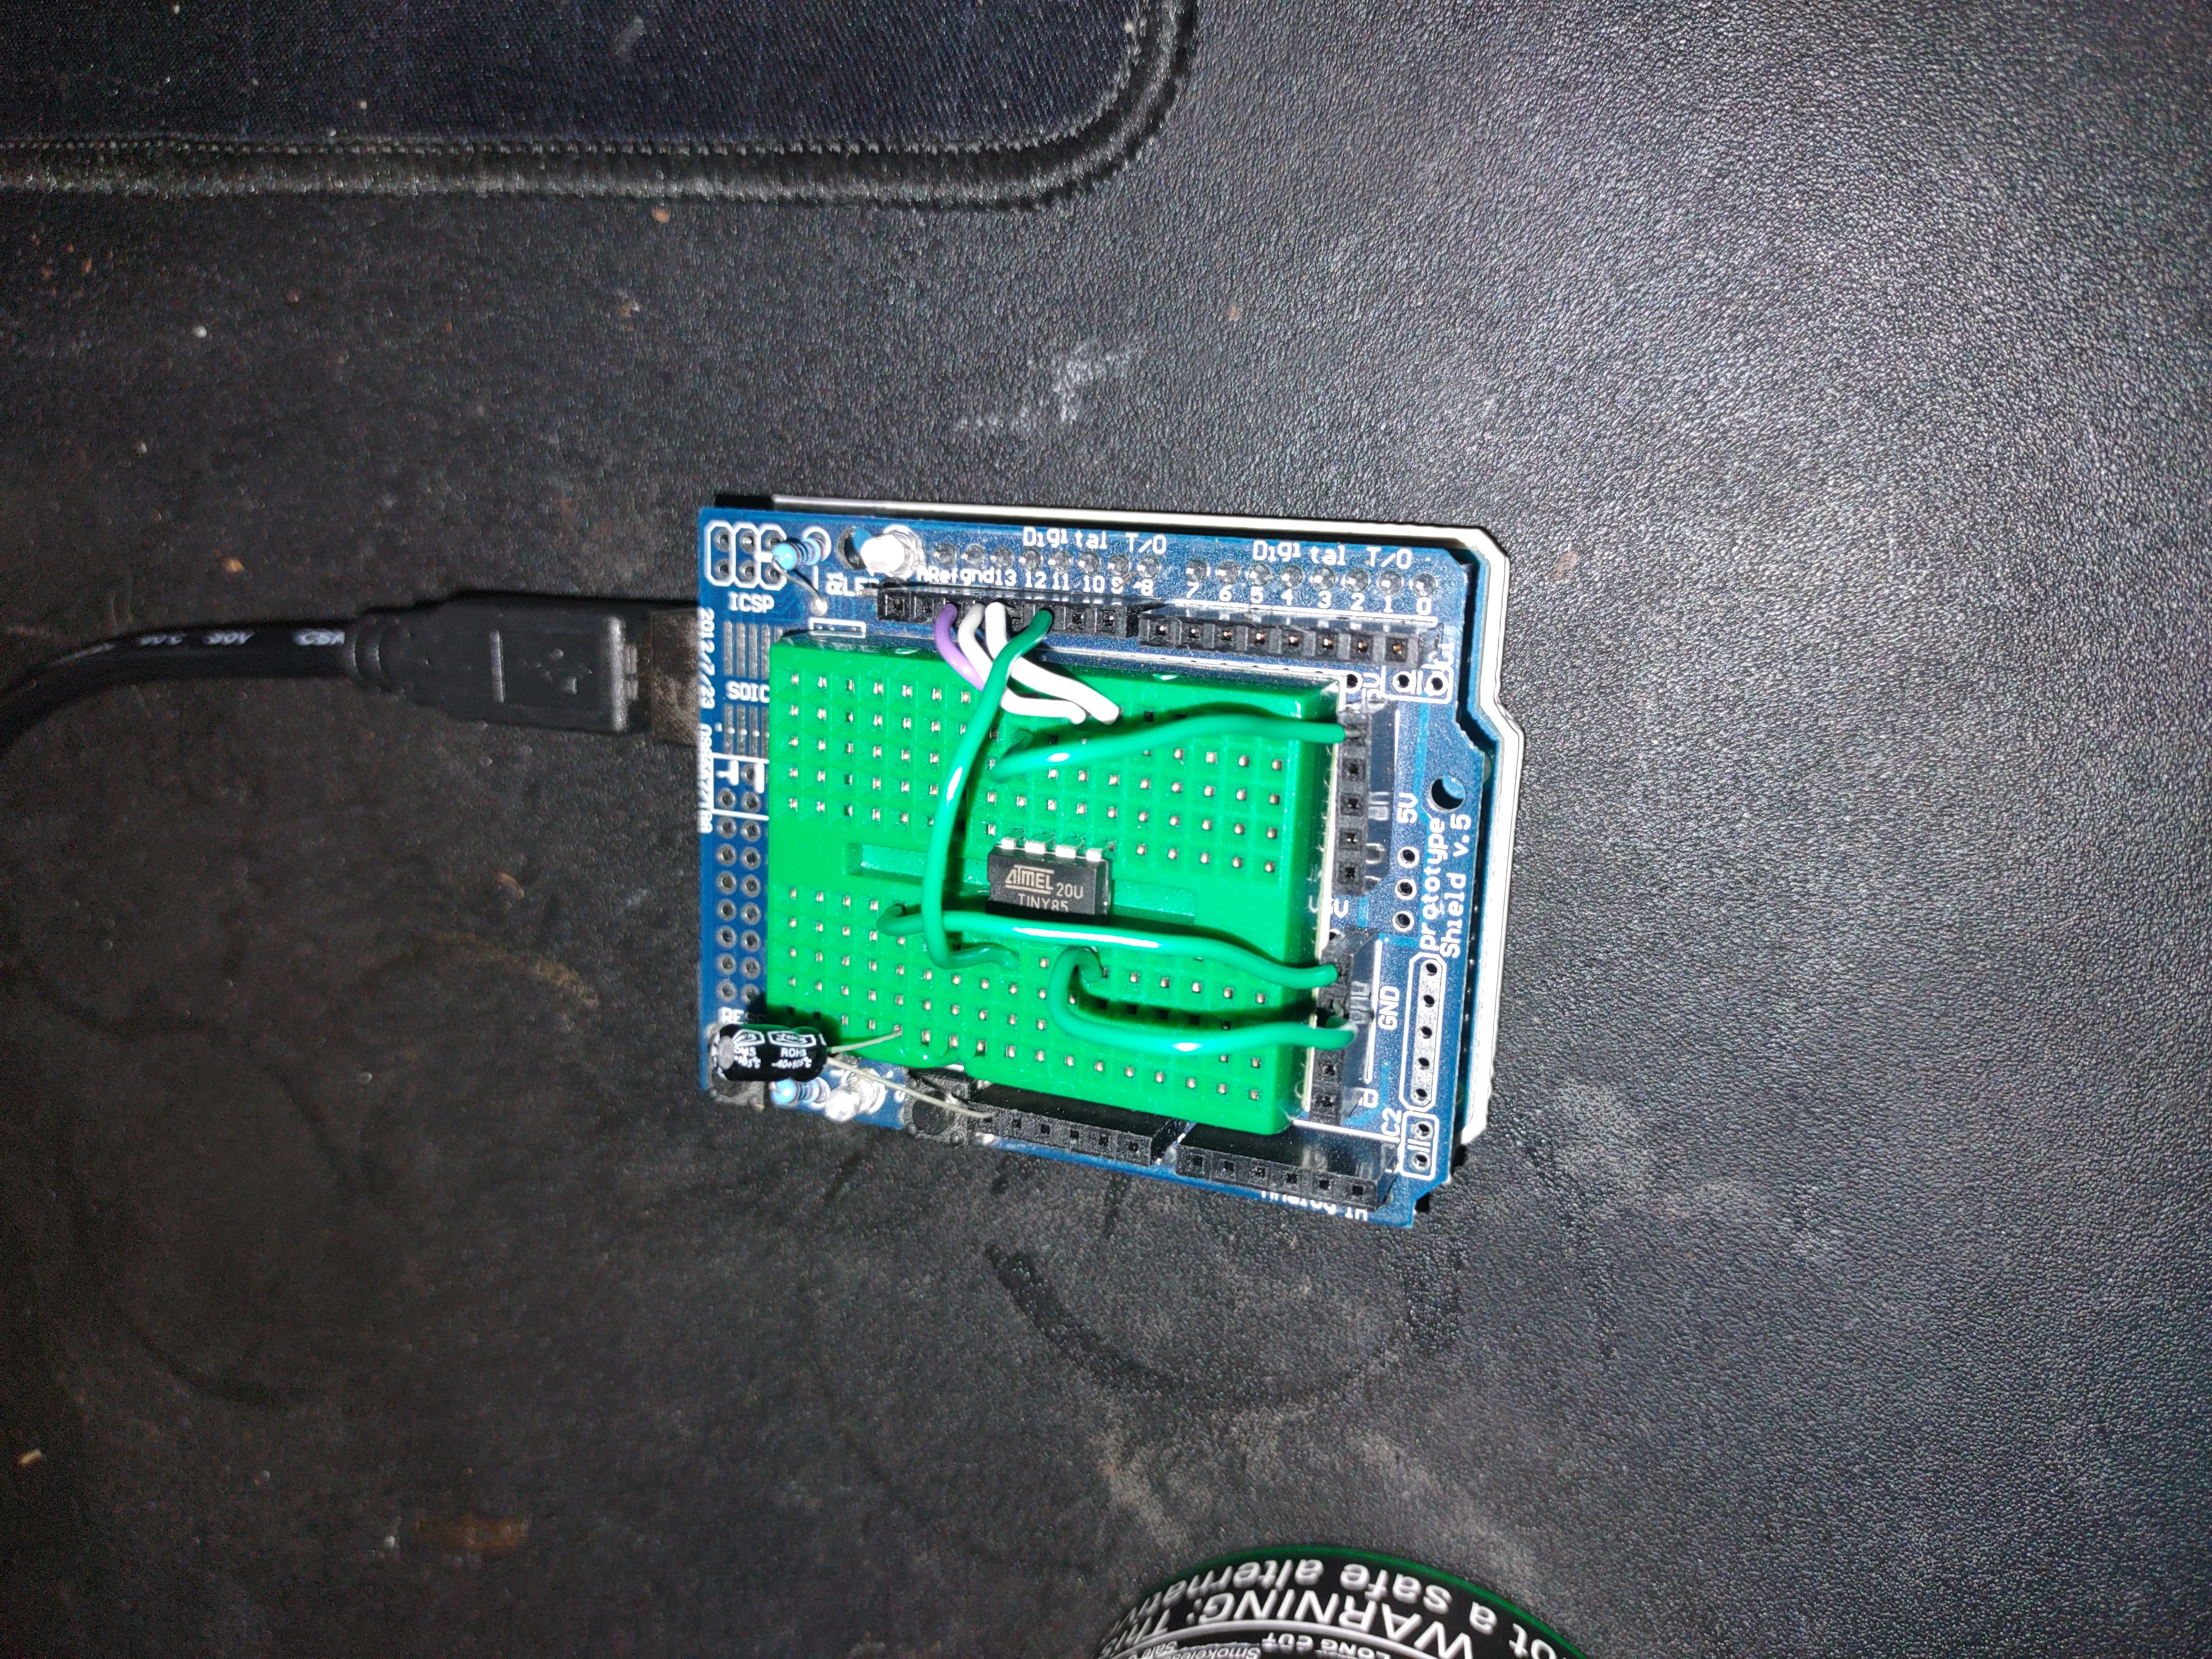
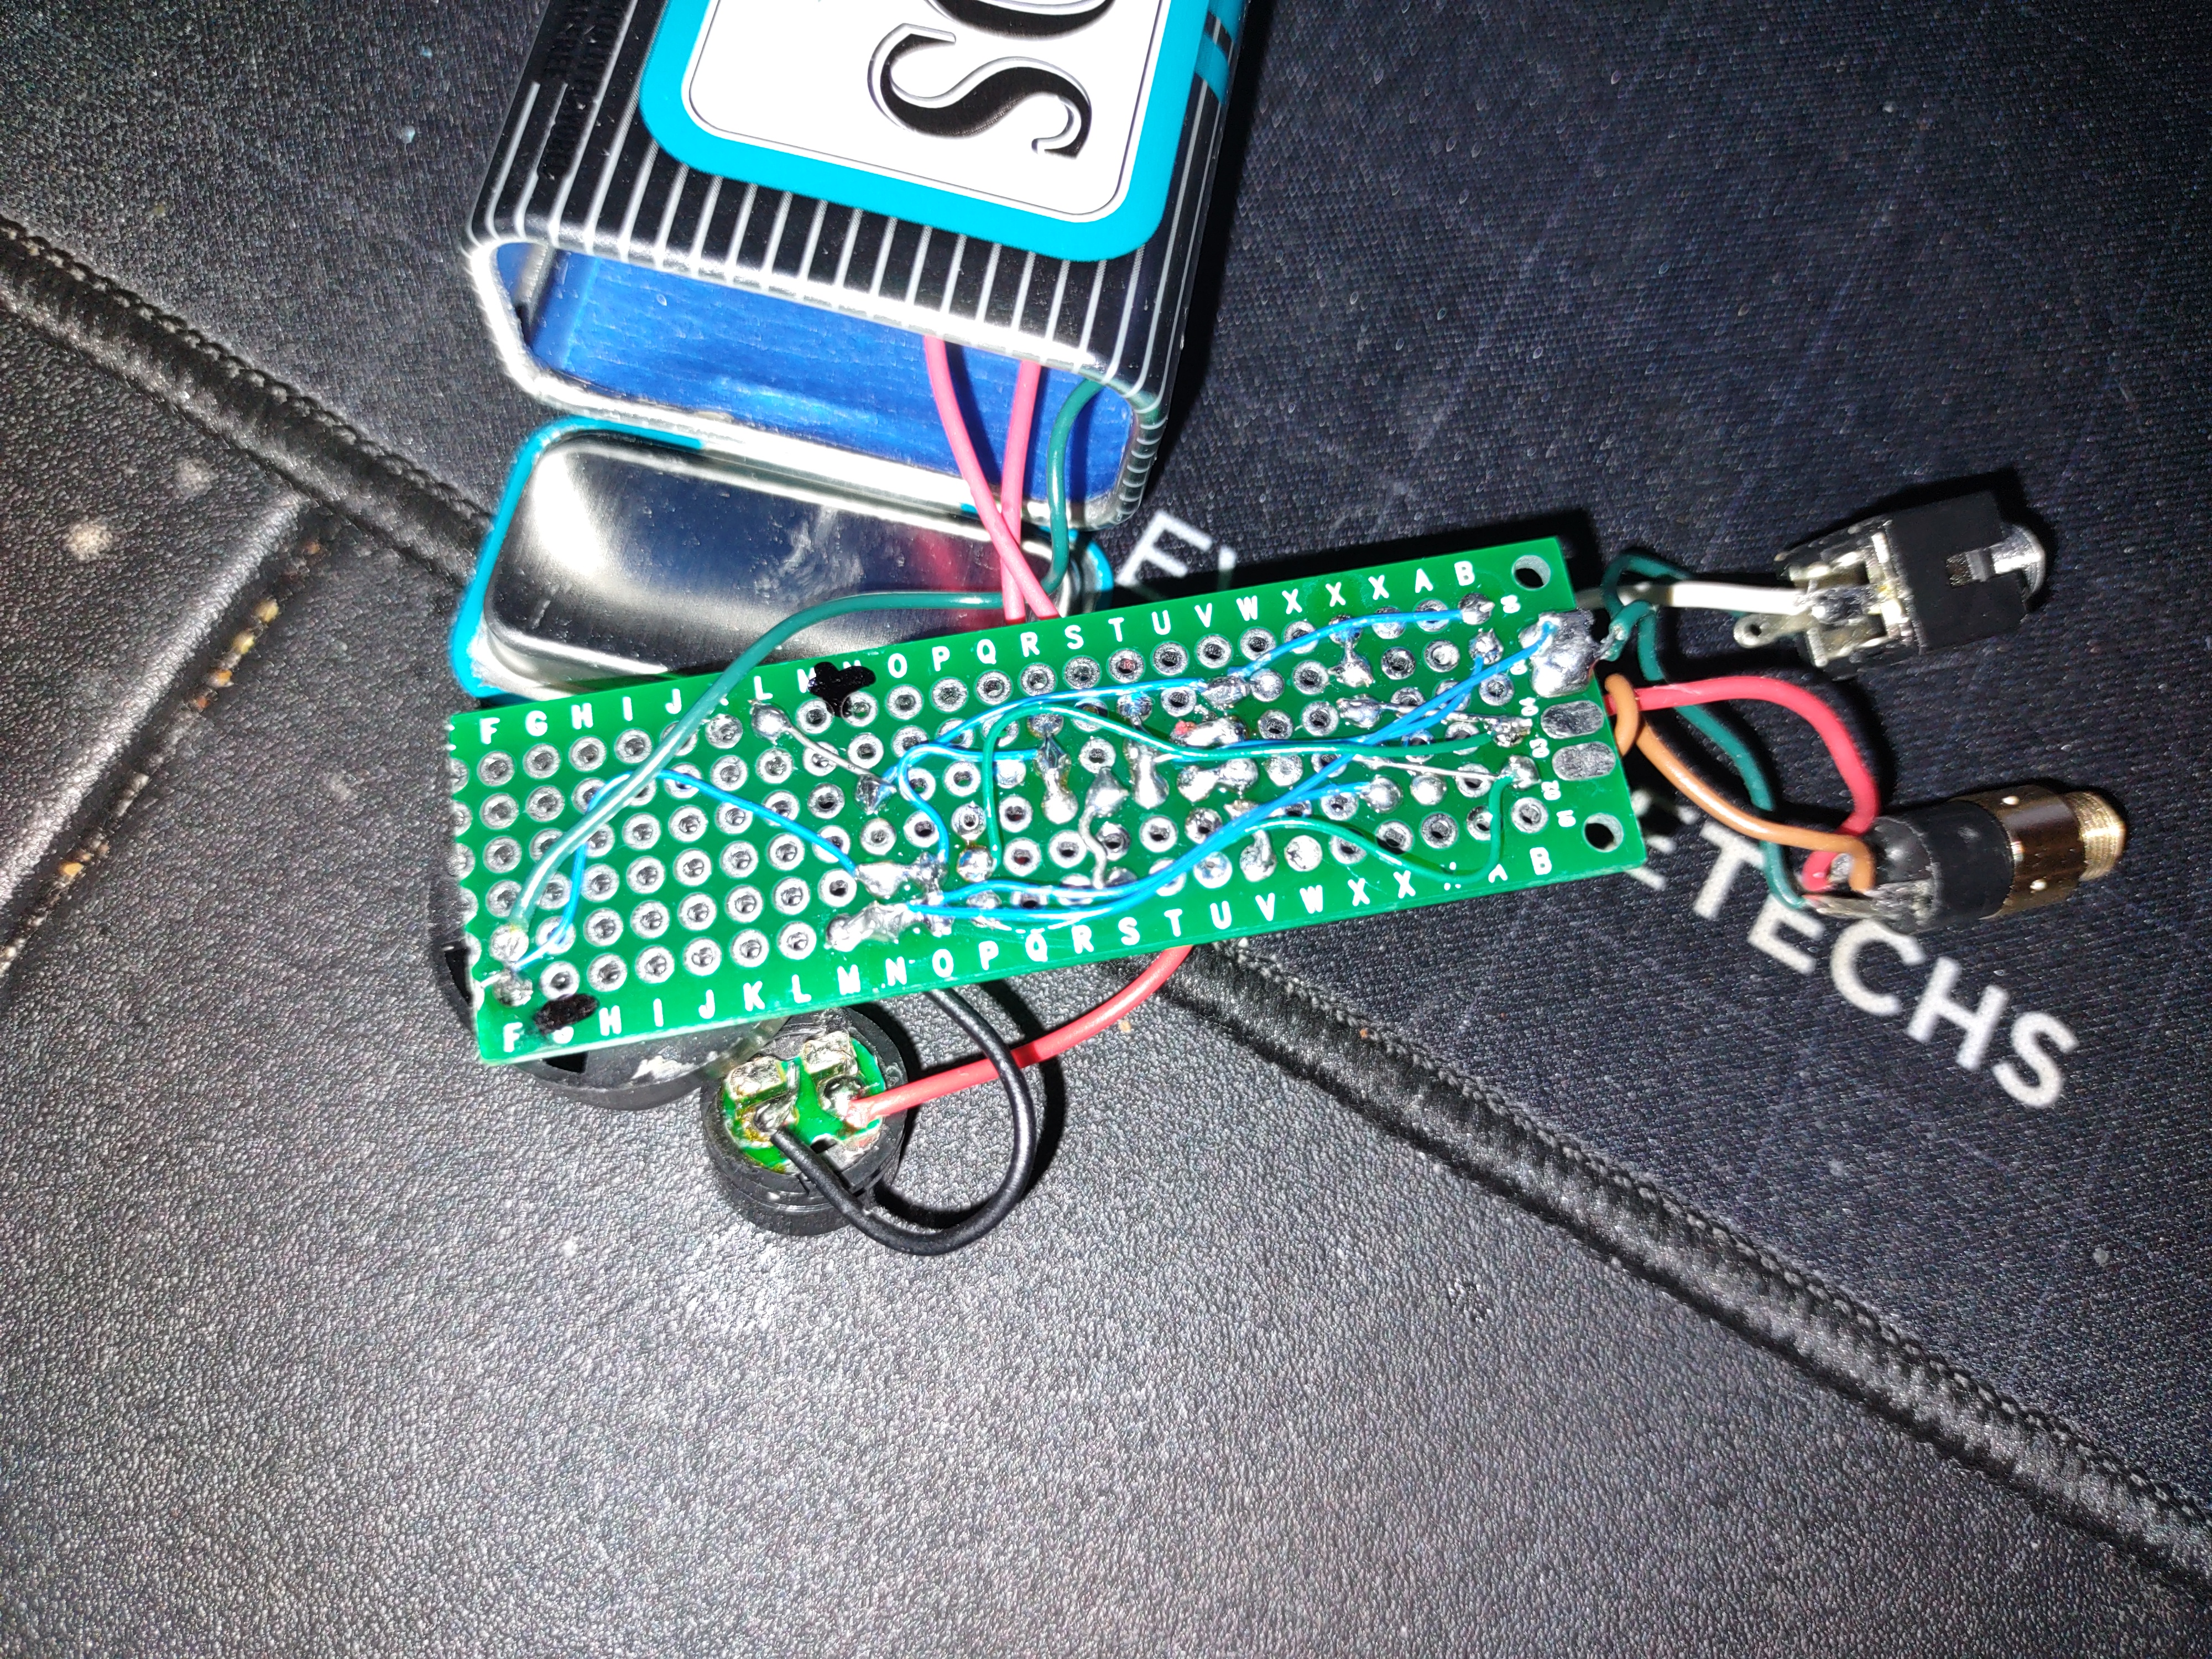
Assembly wasn’t bad, I built the whole thing on a piece of perfboard, using wirewrap wire on the bottom for connections and then drilled out the Altoids tin with a drill press. For programming the ATTiny85, I programmed an Arduino Uno to work as an ATTiny programmer. For power, I mounted a 3V CR1025 coin cell holder. The Altoids case has a strip of painters tape that the board rests on for insulation, and the board is also grounded to the Altoids case. The switching transistor that actually keys the radio is a 2N2222 NPN BJT cause they’re everywhere and I had a bunch of them. I’m pretty sure a C945 or most any other general purpose NPN BJT would work. To be honest, a lot of part decisions were made based on “what do I have in my spare parts bin”, and the only thing I had to buy was the microcontroller itself.
A video of the unit working with a homebrew CW oscillator that I made years ago is included below. Great stuff! Always fun doing a project with microcontrollers.